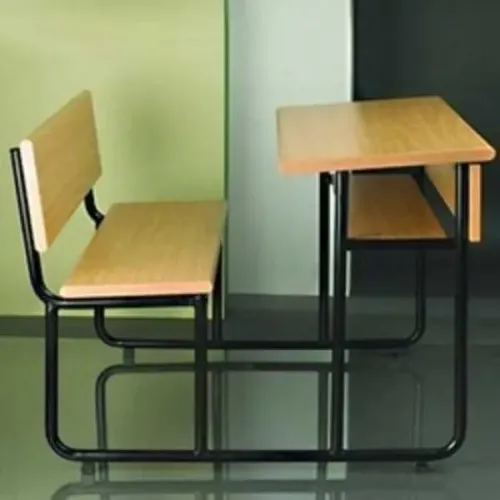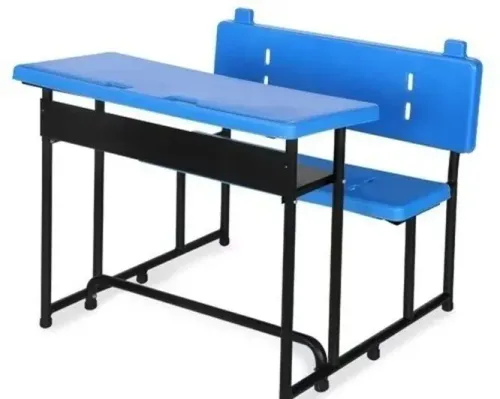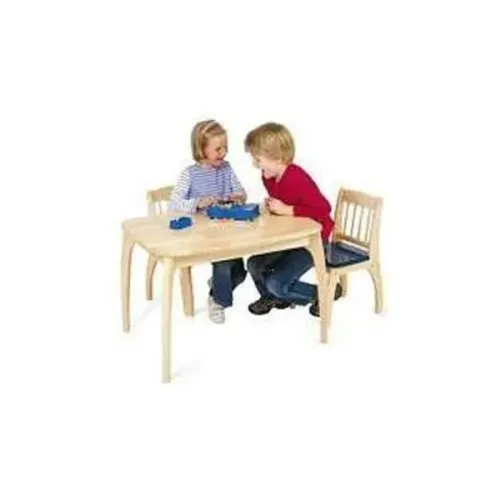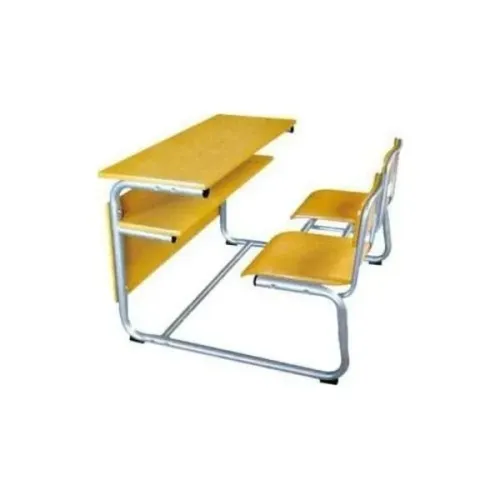
A worn primary bench is not automatically a replacement case, but a fresh coat of paint cannot make a cracked seat or loose frame safe. By assessing each unit, matching repairs to timber or metal construction, checking child fit and documenting the result, you can decide which benches to recover, rebuild or remove.
Key takeaways
- Remove benches with unsound load-bearing frames from service.
- Record dimensions, damage and classroom fit before dismantling.
- Match timber, MS and SS components to the correct repair method.
- Test every recovered bench before returning it to classroom use.
Decide whether the bench is repairable before spending on it
Keep a primary bench only when its load-bearing frame remains sound; otherwise remove it from service before buying paint, timber or hardware. Triage each unit as repairable, repairable after component replacement, or unsafe to recover. This is the first decision in primary school bench recovery.
1. Check both legs, welds, cross-members and seat supports. Retain the frame when they are straight, firmly joined and free from perforating corrosion. Cracked welds, badly bent tubing and holes through MS steel place the bench in the unsafe category.
2. Examine timber for structural splits, decay, termite galleries, live insects, fresh frass and hollow sounds. Replace a damaged seat or writing board when the surrounding frame can still carry the load; remove the bench when the side frames or supports are split, decayed or unable to hold fasteners.
3. Load the bench by hand and check for rocking, joint movement, protruding screws, sharp edges and splinters. A new surface does not cure a loose frame if its load transfers through thin cladding or brittle particleboard edges.
4. Confirm seat height, table height, seat depth, knee clearance and foot support against the specified size band in ISO 5970. Educational furniture for primary bench recovery is unsuitable when one recovered size serves children with substantially different stature.
5. Check whether the repaired coating and edge treatment tolerate the disinfectant concentration and contact time used at your school. Do not seal wet, actively infested or biologically damaged timber; remove the damaged material first and let sound timber reach the coating’s specified application range.
Record the decision on a tag: repair, replace component, or remove. That prevents unsafe units from returning to classrooms during primary school bench recovery.
Record fit, condition and site damage before dismantling
Before dismantling, record each bench’s location, dimensions, defects, material and site exposure so its original fit and failure pattern are not lost.
- Measure seat height, table height, seat depth, tabletop length, knee clearance and foot support. Compare the results with the specified size band under ISO 5970; a bench labelled “primary” can still be too large for younger pupils.
- Photograph the front, rear, underside and every joint. Record loose mortise-and-tenon joints, cracked timber, split or softened board edges, splinters, sharp corners, protruding screws, missing fasteners, unstable legs, cracked welds and bent cross-members.
- Inspect MS tubing beneath feet and where tubes meet the floor. Note rust scale, perforation, trapped water, wet-floor marks and coating failure under the seat; record SS staining or damaged hardware separately.
- Identify the cause visible at the site: wet-season storage, poor ventilation, cleaning water, repeated relocation, stacked benches or uneven flooring. These patterns explain recurring primary bench problems Pune schools may otherwise misclassify as product defects.
- Tag each unit with its room or building, defect, proposed repair action, board or coating material, inspection date and inspector’s name. Mark it repairable, component-replacement repairable or unsafe to recover.
Measure the floor condition and photograph nearby storage before moving the bench. This creates the baseline for educational furniture maintenance and tells you whether the same damage will return after repair. Record the disinfectant concentration and contact time used by the school before selecting a replacement coating or edge treatment.
Use the correct repair method for timber, MS and SS components
Match the repair to the component and return force through the original frame, not through thin cladding or damaged board edges. This is the core rule for educational furniture for primary bench recovery.
| Component | Tools and materials | Repair that preserves the load path |
|---|---|---|
| Timber | Moisture meter, clamps, drill, replacement hardwood, structural wood adhesive, countersunk screws | Remove decayed, termite-damaged or structurally split wood. Splice or replace the member, clamp it square, and fasten it into sound side frames or cross-members. Do not paint over wet timber. |
| MS frame | Wire brush, rust remover, drill, matching-wall-thickness tube, welding equipment, primer and enamel | Cut out perforated tubing and replace the complete damaged section. Weld continuously around sound metal, dress sharp welds, then prime every exposed area. Do not weld over cracked or paper-thin steel. |
| SS frame | Stainless wire brush, drill, matching stainless tube, compatible TIG equipment and filler | Replace weakened sections with matching stainless steel. Use clean stainless-only abrasives and finish the weld smoothly; carbon-steel contamination can start rust staining. |
Elongated screw holes, missing washers and loose rivets cause racking. Replace an undersized screw with the correct diameter and length, or use a through-bolt with washers where access allows; tightening the old fastener will not restore damaged substrate.
For primary school bench recovery, check that a new seat or writing surface bears on both side frames and its cross-members. Seal every timber face, edge and end grain after the repair, then confirm the coating tolerates the disinfectant concentration and contact time used by the school.
Recover the bench in a controlled sequence and test every repair
A repaired bench becomes a safe classroom unit only after each stage is recorded, completed and checked before the next begins. Treat primary school bench recovery as a controlled process, not as a coat of paint over visible damage.
1. Tag the bench and photograph it before work. Record its recovery category, dimensions, damaged parts and the repairer responsible.
2. Remove usable hardware and separate timber, MS frame parts and other components. Discard cracked welds, perforated tubing, decayed timber and fasteners that no longer grip.
3. Clean soil, grease and residue with the school’s approved method. Do not seal damp or biologically damaged timber; let sound timber reach the coating manufacturer’s specified application range.
4. Repair the load path before the finish. Replace split boards, weak screws, damaged feet and failed joints, then tighten every connection without forcing misaligned parts.
5. Sand splinters and sharp edges smooth. Seal every exposed face, edge and end grain, and verify that the cured coating tolerates the disinfectant concentration and contact time on the product label.
6. Reassemble the bench and check seat height, table height, seat depth, knee clearance and foot support against the specified ISO 5970 size band. A bench that fits one age group can be unsuitable for another.
7. Test the finished unit: inspect and touch every edge and repaired joint, check all fasteners, apply a firm push to detect wobble or racking, and complete a documented sample load test suited to the bench design.
Only release the bench after curing is complete and the acceptance record is signed. This discipline makes educational furniture maintenance repeatable rather than cosmetic.
Compare component recovery with replacement and manage the recovered stock
Component recovery is better value when the frame and joinery remain sound, while the damage is limited to seat boards, end caps, glides, fasteners or a writing surface. Compare the labour with a new unit before approving bulk work; extensive straightening, rewelding, substrate rebuilding and refinishing can cost more than replacement.
| Option | Value test | Verification before release |
|---|---|---|
| Component recovery | Retains a sound frame and reduces disposal | Confirm dimensions, stability and repaired load points |
| Component replacement | Keeps the frame but replaces failed boards or hardware | Check material, fastener grip, edges and coating cure |
| New bench | Avoids widespread corrosion, cracks or repeated repairs | Inspect size, finish, assembly and sample-unit performance |
For educational furniture for primary bench recovery, triage every finished unit as repairable, repairable only after component replacement, or unsafe to recover. Reject frames with perforated tubing, cracked welds, structural splits or legs that remain unstable.
- Check seat height, table height, seat depth, knee clearance and foot support against the specified size band in ISO 5970; one size will not suit substantially different age groups.
- Inspect Pune wet-season damage: swollen board edges, softened end grain, corrosion beneath feet and coating failure under seats.
- Test the actual disinfectant concentration and contact time against the cured coating; follow the product label, not a stronger mixture.
- Record location, defect, repair action, board or coating material, date and inspector. Tag each bench with its record number.
- Review recurring failures such as wet-floor corrosion or loose fasteners after relocation. Kohinoor School Furniture can be asked to quote boards, hardware and complete replacement separately for a fair comparison.
Related product
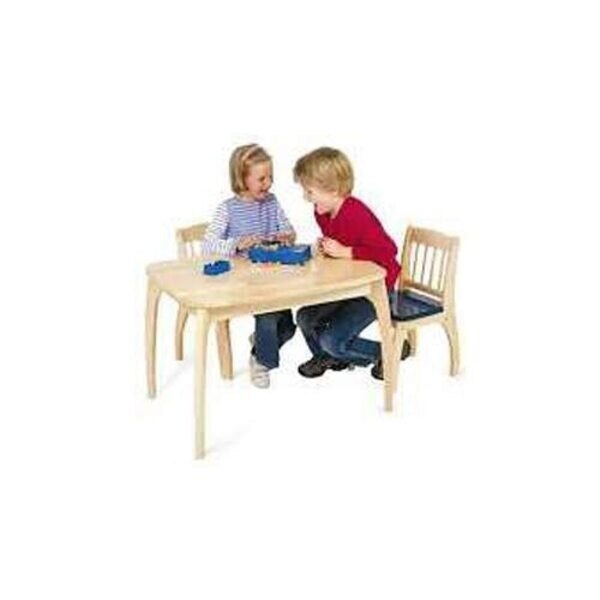
 | Product Details: Size Customized Color Cream Design Type Customized Material Wooden Weight 5-6 kg We are offering Pre-Primary School Furniture Set to... View product → |
Frequently asked questions
How do you decide whether a worn primary bench is repairable?
Classify each bench as repairable, repairable after component replacement, or unsafe to recover. Keep it only when the load-bearing frame remains sound.
What should you record before dismantling a primary bench?
Record the bench’s dimensions, fit, component condition and site damage before removing parts.
How should timber, MS and SS bench components be repaired?
Use a repair method suited to the material: timber repairs for timber parts, mild-steel repairs for MS components and stainless-steel methods for SS components.
What must you do after recovering a primary bench?
Recover the bench in a controlled sequence, test every repair and compare component recovery with replacement before managing the recovered stock.